You are here
5 Word Features You Should Be Using

When Microsoft Word was released, it made word processing easy. Now, most people can do basic formatting without a thought. If you aren’t a designer, editor, or creator of specialized documents, you have little need for the most advanced capabilities. But there are several lesser-known features that are life-savers in the right circumstances. Here are the top 5 tools you should definitely learn more about.
Headline Styles [H2]
Headings are important to help break up text, so readers understand the organization of your content. Many people create headings through formatting (bold, larger font), but you should be using headline tags instead. Paragraph styles are important for digital accessibility. Text readers search for headline tags to make sense of the content and enable users to jump to different sections of the documents.
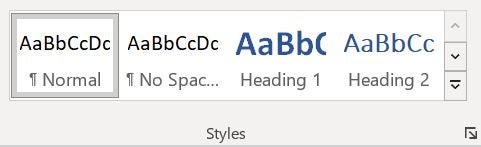 To apply a headline style, go to Home > Styles and select the desired heading level. You can customize the appearance of each heading type, and it will apply to all existing or new paragraphs of that style. Just right-click the style in the Home > Styles toolbar and select Modify. Choose the font options you want to use; use Format6 to adjust paragraph, border, and other characteristics.
Bonus: Heading tags are retained when you convert the file to PDF and HTML, so you don’t have to add code or reformat text manually when converting.
Outline View
Outline View displays your content as a nested bullet list, with each paragraph being a bullet. It supports up to 9 levels of headlines to build out sections. This mode makes planning, organizing, and navigating longer document a snap. You can use Outline View to create a new document or edit an existing one.
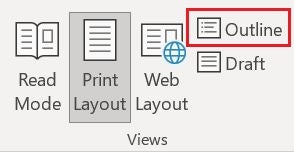 To enter Outline View, click View > Outline. The Outlining toolbar will display to easily indent/outdent and apply headlines with a single click. If you see one long list of bullets, then you haven’t applied any headlines. Consider applying them to organize the content into sections.
Outline View is especially useful in document planning. Start a new document in Outline view, add a title (Headline 1), add bullets for each major topic (Headline 2), and jot down specifics for each topic (Normal text). Then close Outline View and flesh out the content. This helps your paper, documentation, report, or other long document stay focused, organized, and reader friendly.
Outline View also makes it extremely simply to reorganize content. Just drag-and-drop a bullet or whole section to a different location—no cut and paste needed.
Converting Tables to Charts
People are inherently visual, and we process complex data more easily when it is presented in a graphic format. Many users think they need to put data into Excel or a charting/graphic program to make a snazzy visual. Not so—Microsoft Word can create graphs just as easily. If you already have a table of data in your document, just create your chart from within Word. Simply select the table and click Insert > Object (icon is in the Text section). Select the Object option and scroll down to Microsoft Graph Chart.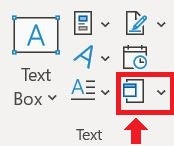
Word will automatically create a graph using its default settings, but you can change the type of chart and how it looks using the Graph/Chart toolbar. This is admittedly not super-intuitive, especially if you’re not experienced making graphs in Excel. Take a few minutes to fiddle around with all the buttons to figure out what each icon/option does. Then go to town! After creating your graph, be sure to add an ALT tag to describe what it shows for those with visual impairments—just right-click the object and click Edit Alt Text.
The Clipboard
 You copy or cut something and then paste it somewhere else. If you cut or copy something else, it overwrites the last thing you copied. Right? Wrong—it is still on the Clipboard! If you’ve ever had to rearrange or transfer multiple elements in a document, then you need to learn the power of the Clipboard.
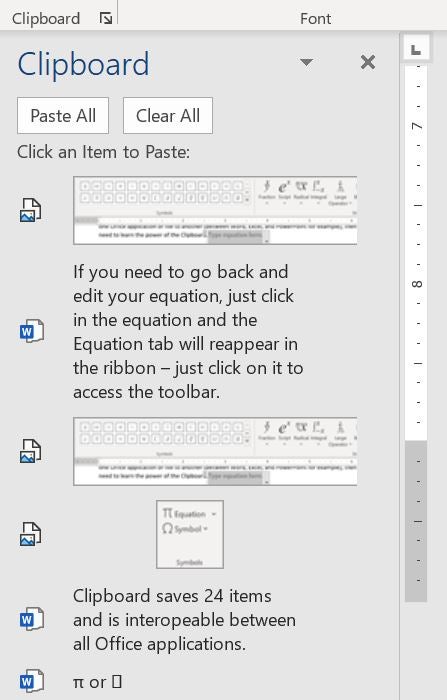
The Clipboard saves way more than the last thing you cut or copied. It actually retains 24 items and is interoperable between all Office apps.
When you need to rearrange or add multiple items to your doc, just cut or copy all the things you need. You can grab them from within the document, another Word file, or any other Microsoft app (like an Excel or PowerPoint file).
Then, go to the spots where you want to insert content. On the Home tab, click the expand button for the Clipboard. From the list, just click an item to paste it in!
Equations Editor
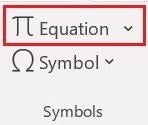
Go ahead and skip this one if you don’t include mathematical equations in your work. But if you are taking/teaching a math, physics, chemistry, or stats class or doing statistical research or analysis, then you need to know about the Equations Editor.
When you need to insert mathematical content, go to Insert > Equation. An equation field will appear in your text and the Equations toolbar will display. The toolbar includes all the special math symbols and formats you could imagine … many more that this blogger can even begin to understand!
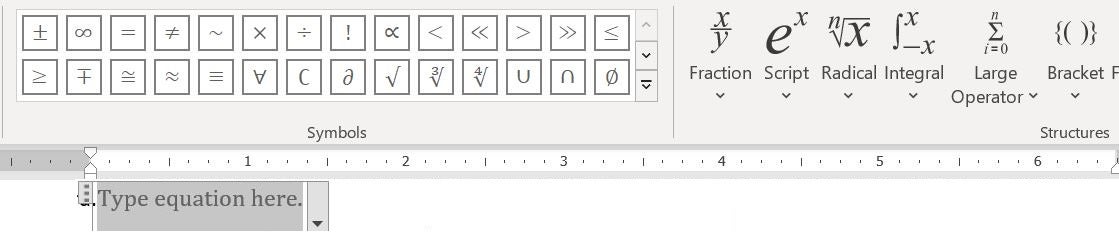 If you need to go back and edit your equation, just click in the equation and the Equation tab will reappear in the ribbon – just click on it to access the toolbar.
Fine-Tune Your Word Skills Today
Looking for more help becoming a Word pro?
- Microsoft has a wealth of Word articles and video tutorials to help you learn the finer points.
- LinkedIn Learning has many courses on Word. Click on My Learning > From Your Organization to see a collection of Pitt IT-recommended courses on Word.
Chances are, you use Word nearly every day. Take a little time to learn the finer points so you can get the most out of it!
-- By Karen Beaudway, Pitt IT Blogger